“Ever had that chilling thought: What if someone was watching my house right now? Yeah, us too.”
If burglaries keep you up at night (or even just mildly worried), setting up a security camera system is one of the most impactful steps you can take. Not only does it provide peace of mind, but it could also save you on burglary insurance premiums. In this guide, we’ll explore step-by-step security camera setup tips tailored specifically for homeowners looking to maximize protection and savings.
By the end of this post, you’ll know how to strategically position cameras, avoid rookie mistakes, and even pick systems that insurance companies love. Plus, there’s a rant section because… well, nothing irks me more than useless security advice.
Table of Contents
- Key Takeaways
- Why Security Cameras Matter for Burglary Insurance
- Step-by-Step Guide to Setting Up Security Cameras
- Top Security Camera Setup Tips
- Real-Life Examples of Effective Setups
- Frequently Asked Questions
Key Takeaways
- Properly installed security cameras can reduce burglary risks by up to 50%.
- Insurance providers often offer discounts for homes with verified surveillance systems.
- Avoid common pitfalls like poor lighting or overly complex setups.
- DIY installation is possible, but professional help ensures optimal placement.
Why Security Cameras Matter for Burglary Insurance
Let’s get real—burglaries are no joke. According to recent FBI data, a home invasion occurs every 26 seconds in the U.S. That’s not exactly great bedtime reading. But here’s the good news: Studies show that visible security cameras alone deter over half of all attempted break-ins.
Beyond physical safety, having a robust security system directly impacts your burglary insurance costs. Insurers view monitored homes as lower risk, which translates into better rates. However, simply slapping up a few cameras won’t cut it. Incorrect positioning or faulty wiring might render them useless—or worse, give you a false sense of security.
Which brings us to today’s mission: Mastering Security Camera Setup Tips.
Step-by-Step Guide to Setting Up Security Cameras
Step 1: Assess Your Property Layout
Before you start drilling holes, do a walkthrough of your property. Ask yourself:
- Where are the entry points? (Front door, back door, garage, windows)
- Are there blind spots?
- What’s the lighting situation like outdoors?
Step 2: Choose Quality Equipment
Optimist You: “There are so many affordable options online!”
Grumpy Me: “And half of those will fail when you actually need them.”
Invest in reputable brands known for durability and connectivity. Look for features such as:
- Night vision
- Motion detection alerts
- Cloud storage integration
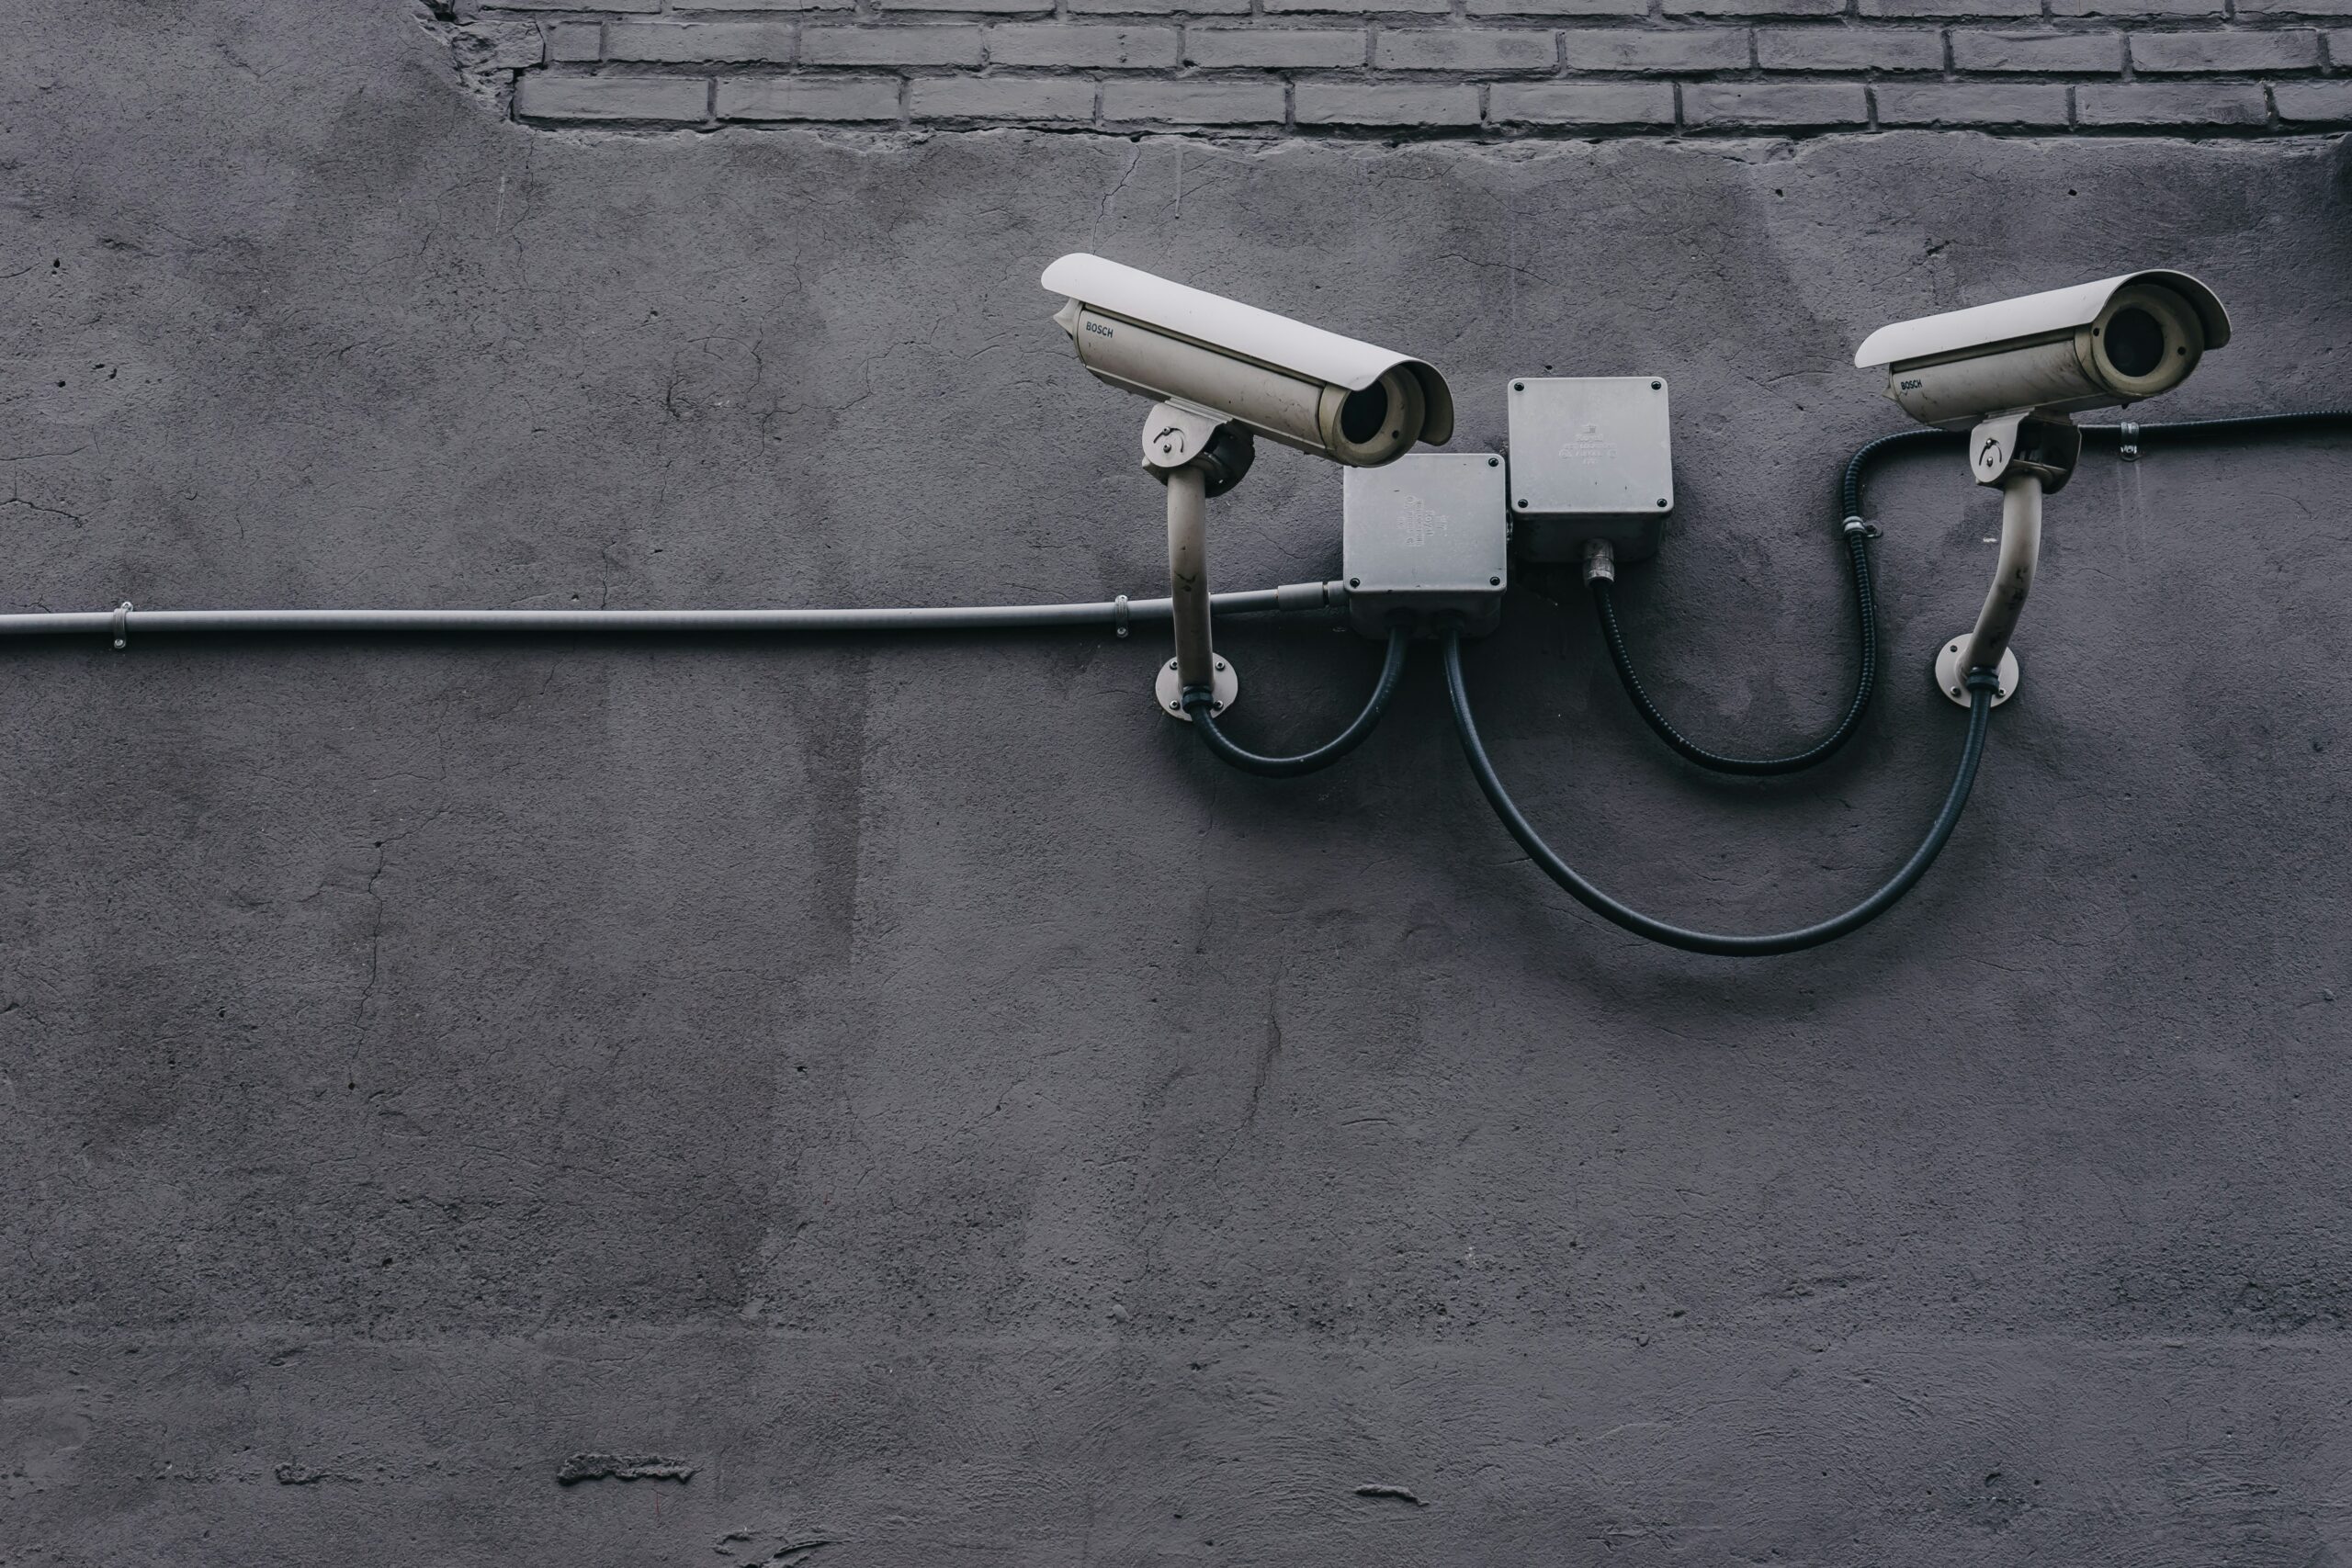
Step 3: Install Cameras Strategically
This part’s critical. Place cameras:
- Above doors and near windows to monitor access points.
- At eye level or higher to prevent tampering.
- In areas with overlapping coverage for redundancy.
Pro Tip: Avoid pointing cameras directly at bright lights or reflective surfaces—they’ll wash out footage.
Step 4: Test and Tweak Placement
After installation, run test recordings during different times of day. Check angles, resolution, and motion sensitivity. Adjust accordingly until everything works seamlessly.
Top Security Camera Setup Tips
- Prioritize High-Risk Areas: Focus on ground-level doors and first-floor windows where intruders typically target.
- Go Wireless When Possible: Wired systems look neat, but wireless offers flexibility without unsightly cables.
- Use Dummy Cameras Wisely: Sometimes faking it till you make it works. Add dummy cameras to less vulnerable zones to boost perceived security.
- Don’t Skimp on Storage: Cloud backups ensure evidence isn’t lost if thieves steal your DVR.
- Terrible Tip Alert: Never place cameras INSIDE bushes. Yes, people do this—it obstructs visibility and invites vandalism.
Real-Life Examples of Effective Setups
Tanya from Ohio reduced her burglary insurance premium by 15% after installing a Ring doorbell and three Blink XT outdoor cameras. Her secret? Strategic placement covering both her front porch and backyard shed. Meanwhile, Mike in Texas saved thousands on insurance claims thanks to clear footage capturing vandals red-handed!
These cases prove that thoughtful planning pays off—in cash and peace of mind.
Frequently Asked Questions
Q1: Can I install security cameras myself?
Absolutely! Many modern systems come with user-friendly apps and mounting kits. Just be prepared to troubleshoot connectivity issues.
Q2: Do security cameras increase property value?
They sure can! Buyers appreciate added safety measures, especially in neighborhoods prone to crime.
Q3: How much should I budget for a quality system?
Entry-level DIY kits start around $100, while professionally installed setups with advanced features can cost upwards of $500.
Q4: Will my insurance cover camera installations?
Rarely. Most policies incentivize security through premium discounts rather than outright reimbursements.
Conclusion
Setting up security cameras isn’t rocket science—but it does require some strategy. By following these Security Camera Setup Tips, you’ll safeguard your home, improve your burglary insurance profile, and maybe even enjoy a little extra shut-eye knowing you’re protected.
One final grumble: Stop buying cheap knockoffs just because they’re trendy. Invest smartly, plan thoroughly, and trust me—you won’t regret it. Now go forth and fortify your castle!
Like duct tape fixes everything, proper security setup fixes burglaries. Boom. Haiku delivered.